Tuesday, February 5, 2013

Wrap Dress to Skirt Tutorial

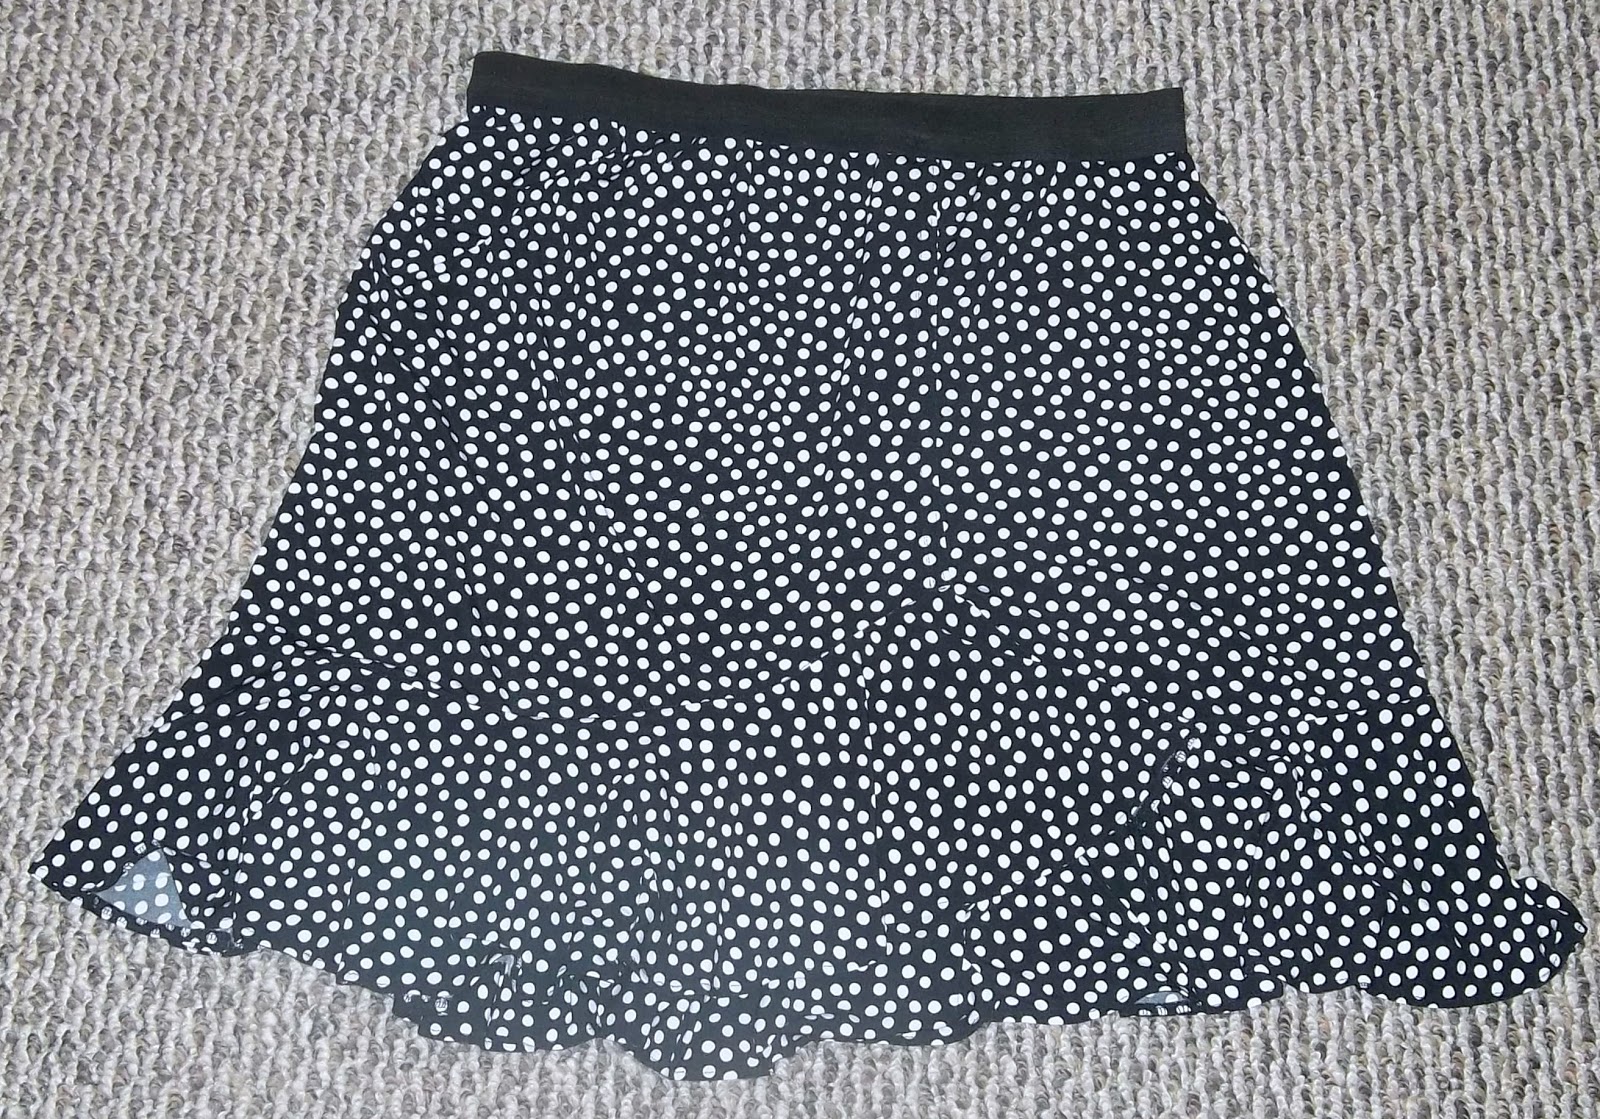
 I recently bought this dress from the flea market. The cut and the polka dots spoke to me, but when I tried it on at home, the fit didn't! So, I decided to turn into a skirt. I laid it out flat to get an idea of where to cut it.
Once I had a plan, I chopped the top of the dress off.
I too some straight pins and pinned down where I wanted to bring the two sides together. The front hem was cut at an angle so I sewed down to the ruffle and then took it off the machine and pinned again before stitching the rest.
I turned it inside out and cut the extra fabric from the overlap away so that it wouldn't create extra bulk.
Then I got some black elastic out and measured it around my waist and stitched the ends together.
Next I pinned it to my skirt. To do this, I started where I stitched the elastic and lined that up with one of the side seams. Then I folded both pieces in half and pinned where the halfway marks lined up. I continued this process, folding both in half and adding pins, until I had 8 pins.
Next, I sewed the elastic to the skirt. You have to stretch the elastic as much as you can between pins so that the stretch will be right. Finished!
I decided to wear it to church that week.
Sweater: Coldwater Creek
Tank: Wal-mart
Belt: Target
Tights/ Flats: Payless
Jewelry: Southern Women's Show and Flea Market

And yes, I was wearing a Hello Kitty necklace and earrings! Love it!

Monday, February 4, 2013

Pillowcase Dress and Matching Scarf for Mommy!

I finally got the courage to sew for my daughter and made her a pillow case dress using this tutorial. The original piece was a too-big dress that I picked up for a dollar at a yard sale. I tried to alter it into a skirt for me but was unhappy with the result. The new dress is made from the skirt and the ties are made from the band that went around the top. When I finished, I still had some pieces left that I wanted to do something with.
I pieced them together, overlapping edges that I had ripped.
Then I sewed it all together, kind of going for a raw edge look.
I honestly was not that happy with the result . . .
 . . . but, being that it was only a scarf, it still looked cute on!
Sweater/Belt: Target
Shirt/Skirt: Thrifted
Shoes: Payless

I would defiantly make us matching stuff again, I will just plan ahead to have enough fabric!

Saturday, February 2, 2013

Fashion Challenge - Part 2

Here are days 5-8! We are at my grandparent's house for the week.
 On day 5 my Grandma and I took the Dida to the park as it was supposed to be the nicest weather for the week. Good thing we did because it rained and snowed the rest of the week! I decided that this was a great day to wear on of my reader created outfits. This one was submitted by my mom. Sadly, I forgot to pack the owl necklace! I wore a simple one that my husband gave me instead.
Sweater: Coldwater Creek
Tee: Target
Tank: Walmart:
Skirt: Thrifted
Shoes: Payless

On day 2 I went grocery shopping with my grandma and then to church. I wore another outfit submitted by a reader, Rachel. She chose leopard flats and black boots, so I wore the flats for shopping and the boots for church!
Sweater/Trench/Boots: Target
Tank/Skirt: Walmart
Hair Flower: Southern Women's show
On day 3 the Hubs and I got to go on a date! We went to an Italian restaurant called Gondolier and walked the mall. I picked up a new black bubble necklace for $5! I was very excited! I'm also wearing a new bib necklace that I made myself. You can't see it very well but a tutorial will be coming soon.
Sweater/Tank: Target
Skirt: Thrifted
Boots: French's
Boot Socks: JC Penny (on sale for $2!!) 
On day 8 it snowed!! The Hubs, Dida and I went out in it for a little bit in the morning. It was almost gone by the afternoon. After lunch my Grandma and I took the Dida to visit an elderly family friend and I had a reason to put on something other than junk clothes.
Sweater: Coldwater Creek
Skirt: DIY
Scarf: Cato
Brooch: Vintage, gift
Boots: French's

Go back and see Part 1 here as well as my Style Challenge, here.

Thursday, January 31, 2013

Style: Denim and Lace

This was my Easter dress last year. I saw it in the store and just fell in love. I was browsing Pinterest for ideas on how to wear my knee length lace skirt when I came across the photo below and immediately thought of my dress. Since I don't travel with it I don't get to wear it too often. I jumped at the chance to pull it out for church one Sunday when we were at home. Denim and lace go so well together!

Dress: Forever 21
Jacket: Old Navy
Necklace: Beall's Outlet
Belt: Vanity
Lace Shirt: JC Penny
Tank: Wal-mart
Hair Flower: DIY

Wednesday, January 30, 2013

Yo-Yo Satin and Tulle Flower

This is part 4 of the LC series that I designed for my cousin for Christmas.
Start with a long piece of material, about 4 inches wide and 18 inches long. It can be something that will fray, in fact, I came up with this because I wanted to use satin. You also need a needle and thread, tulle if you like, and a hair clip and hot glue.
Fold your fabric in half and do a running stitch, making a tube that is closed at one end and open at the other. Do not cut your thread.
Flip the tube inside out.
Next, pull your thread as tight as you can so that your flower scrunches up. Tie your knot off.
Next, tie a new knot and slip your needle through the tulle and then insert the needle in between the doubled thread by the knot so that it will catch when you pill it tight.
Do another running stitch along the edge of the tulle and pull your thread tight so that it creates a circle. Tie it off.
Cut out a circle of felt.
First, glue down your tulle, then your satin rosette, leaving the end un-glued.
Next, roll up another, smaller piece of tulle so that it makes a small rosette. You do not need to stitch this one.
Glue this rosette in the middle of your satin flower, tucking it slightly under the loose end and then glue the loose end down.
Glue you hair clip to the back
You are done!

Check out more from the LC series: Gem Barrette, Glitter Leaf Hair Clip, Hello Kitty Tulle Bow


Tuesday, January 29, 2013

Fashion Challenge - Part 1

Our family is on a three week deputation trip and this time around I decided to give myself a little challenge and make as many outfits as possible from a limited amount of clothing. You can read about it here. Here are days 1-4.

Day one was just a couple hours of travel and seeing my husband's family. I had to stay home with the Dida at Christmas as she had the chicken pox, so we decided to see them on our way up. The weather was sti;; nice.
Shirt: Ann Taylor (thrifted)
Skirt: DIY
Shoes: Payless

Day two was travel and dinner with a Pastor and his family. I opted for comfort.
Shirt/Tank: Target
Cardigan: Gift from Mom (and last minute addition)
Scarf: DIY
Skirt: Liz Clairborn (thrifted)
Tights/Shoes: Payless
Day three was Sunday, two meetings, travel and it was freezing!! Lots of snow still on the ground. I also layered my trench over this.
Dress: Vanity
Sweater: Coldwater Creek Outlet
Scarf: Wal-mart
Belt: gift
Boots: Target

Day four does not exist because I was a hot mess! It just was more travel and a quick trip to Wal-mart. We stopped in Knoxville, not realizing that we would be eating right down the street from the University of TN and the Dida just happened to be wearing her UT sweat suit that my Dad bought her (it's her warmest outfit)! It was a fun coincidence.


Thursday, January 24, 2013

Maxi Dress to Maxi Skirt Tutorial

I got this dress as a hand-me-down recently and I tried it on with several sweaters and jackets but never found one that looked quite right. As much as I love strapless dresses they don't often love me as they tend to be too low in the front or are hard to define your waist in. So, I decided to make it into a skirt.

First, I tried it on at my waist to see how much of a waist band I wanted. Then I took it off and trimmed it accordingly, leaving an extra 1/2 inch for a seam allowance.
Next, I sewed the waistband down, gently stretching as I sewed. You may want to zig-zag stitch the top or fold it over a third time but I did neither as I didn't want my waist band to be too bulky.
Once that was done, I tried it on again to see how long I wanted it. Once I decided, I pinned it with a straight pin to mark my place.
Then I took it to the ironing board an pressed a seam all the way around.
After pressing, I trimmed the excess material about a 1/2 inch from my pressed fold.
Then I pressed it again so that I had a hem that was folded over twice.
Then I stitched it down and was done. Easy peasy!

Now I have a comfy skirt that can be worn in any season with boots or sandals. I included it in my 21 Days with 5 Outfits Challenge. Follow the link to make an outfit for my for my up-comming trip!