Tuesday, October 16, 2012

Winter Headband from a Sweater Sleeve

I saw this adorable headband on Pinterest. Hoping it was a tutorial I pinned it, but sadly, it was a link to a sale page. You can buy it here for $38 plus shipping. So, I decided to re-create it instead! I had a sweater that I purchased last season for $3. One of the sleeves was coming off and I had intended to fix it but then I decided I liked it better without the sleeves.
So now I had a very cute sweater vest and two extra sleeves. I decided to just hold onto them. I knew one of them was just the thing for this project. I started by flipping the sleeve inside out and taking out the seam halfway down the arm. Then I folded it over so that the sleeve was now a tube that was the same width for the whole length.I did not want to trim the fabric because that would cause the fabric to fray.
Next I hand stitched the tube in place following the edge of the seam that I had just undone. I put my left hand inside of the tube while I worked so that I would not go all the way through to the front with my needle.
When that was done I flipped it over and inserted what was previously the shoulder piece into the cuff. Then I stitched the two ends together, again being careful not to go all the way through.
Next I turned it right side out and added just a few hidden stitches in the front so that it would not gap open when stretched over my head
We will be spending a lot of time up north this winter and now I'm ready for it! I like these a little better than a hot too because they seem like they would not mess up your hair as much.
Now if I could just get my hair to look like the models!

Monday, October 15, 2012

White Pizza Pasta

Saw this Pin and couldn't resist. If there is one thing the hubs and I like, it's pizza! Now mix that with pasta? Delish! I knew I had pepperoni and mozzarella cheese in the fridge that needed to get used, but I wasn't sure what else I had. After checking my stock I came up with a jar of Alfredo sauce and half a box of bow tie noodles. I also had chicken and ground beef in the freezer. Not exactly what the recipe called for: rigatoni, tomato sauce, Italian sausage, onions. But I decided to give it a try anyways. I also cut the recipe in half. To make my version you will need:
A half a box of pasta - if you are using spaghetti or fettuccine, I would suggest breaking it in half
1 to 2 cooked chicken breasts, diced - I used 1 1/2
A jar of Alfredo sauce - or about a cup and a half of homemade sauce
About 3/4 cup of milk
Frozen vegetables
2-3 cups of shredded mozzarella cheese
Pepperoni for garnish (optional)

From here I followed the same idea as the recipe from the Pin. Mix together your uncooked pasta, sauce and veggies. I used carrots and broccoli because that is what I had in the freezer. Mushrooms, peppers, onions, or asparagus would all be good as well. Maybe even some spinach leaves. Also, emptying the sauce into the bowl, I filled the jar about halfway with milk. I replaced the lid and shook it really well to get all of the sauce still stuck inside the jar and then I added this to my mixture as well. This gives the pasta a little more liquid to soak up.
Normally I would save a dish and mix it right in the crock pot, but this recipe calls for layering of your ingredients, so I had to use an extra bowl. The original recipe also suggested to spray your crock pot with cooking spray which is an excellent idea. I started with a layer of pasta, then a layer of chicken, then cheese. I repeated this two more times.
Finally, top with pepperoni and oregano if you like and let the crock pot do its thing. I cooked it on high for about an hour and 45 minutes. 
My husband and I loved this recipe with all of its cheesiness! My picky one year old even tolerated a few bites. It's not a recipe I would make all of the time though, what with the major fat content! I think you could add plenty of veggies and it would still be good, I just didn't happen to have too many on hand. So, that's white pizza pasta. Try some tonight!

Mod Flower Pin Test

Here is a Pin-test for a cute fabric flower brooch. I found this while checking out another Pin from this site: Gone to Earth. I really liked this one because it is completely different from almost all the other flowers I've seen. It is a little labor intensive but the result is very cute!
You can check out the tutorial here, and here is my version as a pin for my mom's coat.
I really liked the flower but I would make a few changes.
1. My flower came out massive, so I might scale it down a little next time.
2. If you look at the tutorial, there is a step in the petal making process where you put a few stitches in the back of the petal and then snip off the pointy ends. Then you thread all of the petals together. I had a problem with my thread slipping through the petals when I strung them together so I decided to hot glue them directly onto the circle of felt instead. If you are going to hot glue your petals I would still suggest stitching each petal to hold it together, but I would try to go though all of the fabric with your needle, not just the back edges. I would also not snip off the excess as it gives you more surface for your glue.
3. Instead of using a fabric covered button I just made a little yoyo in one of my fabrics and glued that in the center.

I will be making another one soon!

Sunday, October 14, 2012

Petal Power is a Real Pattern!

The hubs and I decided to make a quick run to the flea market this weekend since we were home and lately I have realized that a little thrifting may be an excellent way to add to my Vera Bradley collection. Two years ago I was given a travel accessory bag and zip I.D. case in purple punch.
Up until that point I had a love hate relationship with Vera Bradley bags, or really labels of any kind. I'm not a hipster, just not rich. I went to a private Christian Jr. High and High School where most of the kids came from wealthy families. My family wasn't poor by any means, but I was there because it was Christian, not because it was private. We had to wear uniforms but that made labels stand out even more. Shoes, back packs, jackets and jewelry were all we had to express ourselves with. I remember when Tommy Hilfiger took over my church youth group. I didn't have a job because my parents wanted me to be a kid as long as possible and I thank them for that. They weren't mean either, but there just wasn't money to spend on designer clothes. So, I decided that wanting to have a lot of things because of what brand they were just wasn't a practical thing for me. I think that having that mindset as a teenager saved me a lot of angst.
Don't get me wrong, I never lacked for anything growing up. My dad did buy me the much coveted Sketchers and Converse (shoes, and Dad buying something, were an exception to my self-imposed no labels rule), but besides the uniforms, most of my clothes were "consignment" (the nice word for thrift-store), hand me downs, or Wal-mart. I was really happy when my mom discovered Target.

Once I graduated high school and started working and paying (some of) my own bills, shopping was a true pleasure. It is definitely still on of my vices if I am not careful. Thanks to my mom I will still never pay the highest price on the tag though. I always go straight to the clearance racks. These days who doesn't? But those first Vera bags? Well, lets just say, sometimes labels can be nice.

A little after that Christmas I decided to buy my first Vera Bradley purse with some of my Christmas money, a cross body, also in Purple Punch, on clearance of course. It's a nice bag and one I know I will keep for a long time. The following Christmas my mom decided that a Vera purse was what she wanted so my Dad and I went and got her one. She loves it so much that she has used it for 10 months straight. When my daughter was born and I stopped carrying a purse altogether. I just put everything I needed in the diaper bag. A few months ago I found this backpack at a yard sale for $1 and it finally confirmed my decision that it was time for mine and my daughter's stuff to part ways. And thus, the hunt for thrifted Vera Bradley began. Besides the first bag I also found a ditty bag for $2 in need of a little repair and then yesterday, my latest find.
Looks fake doesn't it? I was super excited when my scanning eyes finally found their prize among the flea market tables. It was marked $5 but I offered $3 and they took it. Never hurts to bargain in that setting. Looking it over, "Vera Bradley was plainly written on the front.
There was also a tag on the inside, but it didn't look like the tags on my other bags.
When I got home I looked online at how to stop a fake and most clear differences were how the zipper pulls were supposed to be, (mine didn't have any) and how there was always a different lining fabric. Mine was lined in the same fabric as the outside. I did a little more searching and somehow came up with a name for the pattern - Petal Power. Searching for that gave me a lot more results but all of them on E-bay or similar sites, and people were still debating whether or not this was an actual pattern. Finally I got smart and decided to e-mail the company. Success! It is real. It was a limited edition pattern and thus not listed under their retired list. Moral of the story? When in doubt, go to the source.

Oh, and I did find the the different lining fabric after all.


Saturday, October 13, 2012

Candle Cover with Felt Flower Pin Test

One of my best friends just moved into her first house and I wanted to get her a house-warming gift. I found a candle I liked at Wal-mart, but who wants to look at an ugly label? So I decided to make it a cover. I had a felt flower tutorial that I had been wanting to try and decided this was the perfect opportunity.
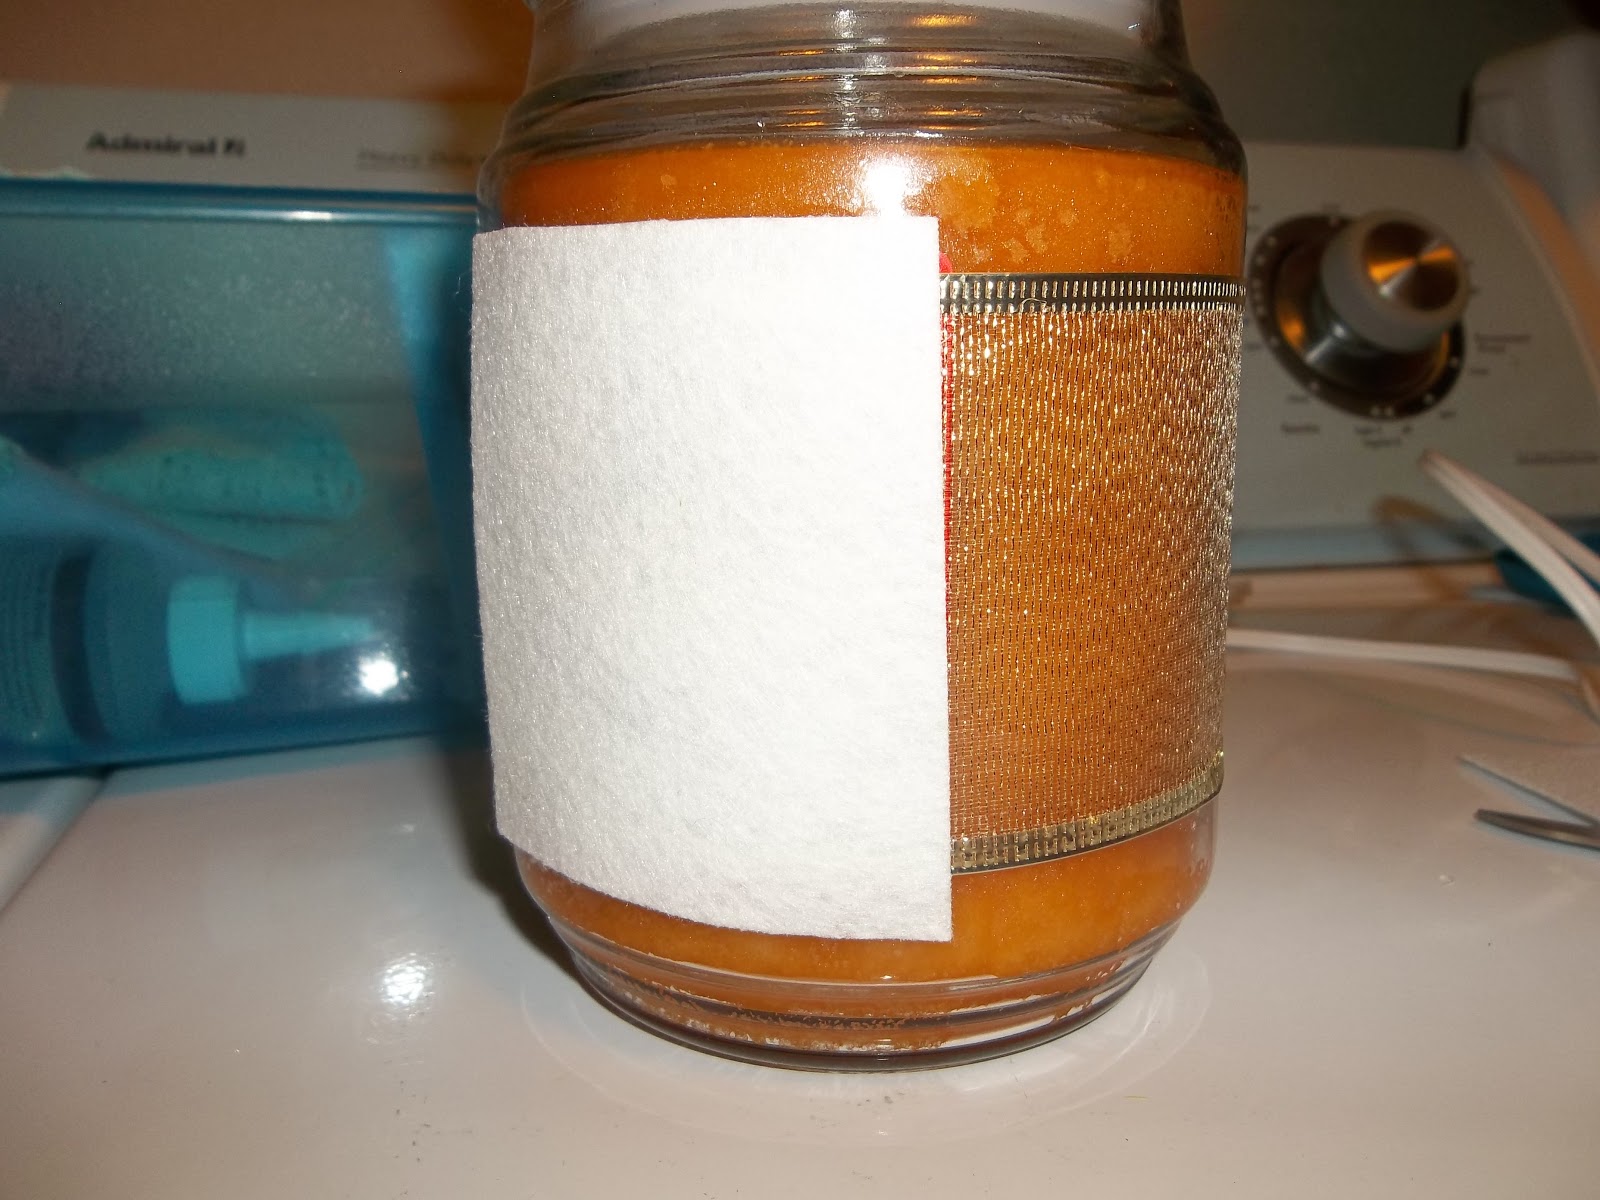
I got a piece of gold ribbon and measured the circumference of the candle so that it over-lapped a little. 

I had some sticky backed felt. I cut a piece that would cover the label, so that I could use it to both secure my ribbon and have something to attach my flower to.
Now I had a base for my flower.
I took a look at the tutorial and I wanted to make mine a bit smaller so I cut the dimensions in half. I made a pattern to help me cut my petals.
I also only cut half of the amount of petals and only enough to make two rows. Here is everything I needed to make my flower. The tutorial is pretty self-explanatory so I will spare you the details. Be careful when gluing though. I burned myself pretty good making this. Just take your time.
Even though I made the flower half size, it still turned out huge! I really liked it thought and I hope my friend does too. The best part is that you can easily move it from one candle to another.


Friday, October 12, 2012

Enhanced Box Cake Pin Test

If you have been on Pinterest any length of time, you have most likely seen a Pin like this:
It's pretty simple to do and you can see the website with full instructions here. Basically, add 1 to 2 more eggs, replace the water with milk and replace the oil with melted butter and double it. Otherwise, follow the box. For my yellow box cake from Aldi, that called for 4 eggs, a stick of butter and a cup and a quarter of whole milk. That's a lot of stuff to add to an otherwise cheap dessert! At first I wasn't impressed. I tried the cake the night I baked it and it didn't seem much better than a normal cake. The real staying power of this recipe, though, was discovered the next day. Somehow, overnight, the cake actually got better! The next day, it really did have that bakery taste. It was stored in an airtight container overnight and perhaps that made the difference.
The frosting was chocolate buttercream. It was the first recipe I found when I googled for it. It was very easy and turned out really tasty! I had originally planned to cut it in half but then I realized that I wasn't going to have enough. I ended up using the same amount of everything but the butter. I only used one stick instead of two but it turned out fine. So, in the end, I think I would do this again! If you going to have cake it might as well be good!

Style - Yellow Pencil Skirt

I just picked up a yellow pencil skirt at a thrift store for $2. I didn't get to try it on so it was a bit of a gamble, but it fit! I really wasn't sure how to wear it though so I searched Pinterest for some ideas and came across this:
I really liked the primary colors and I had a vintage blue striped shirt in my closet. Here is my version:
I thought the red made it fun. A little bright, but I'm all about that!